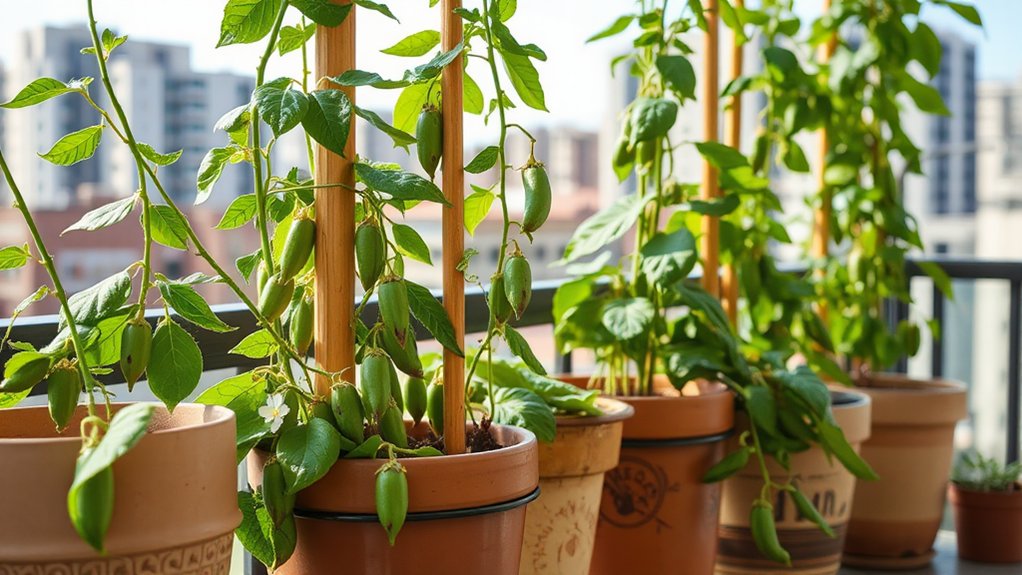
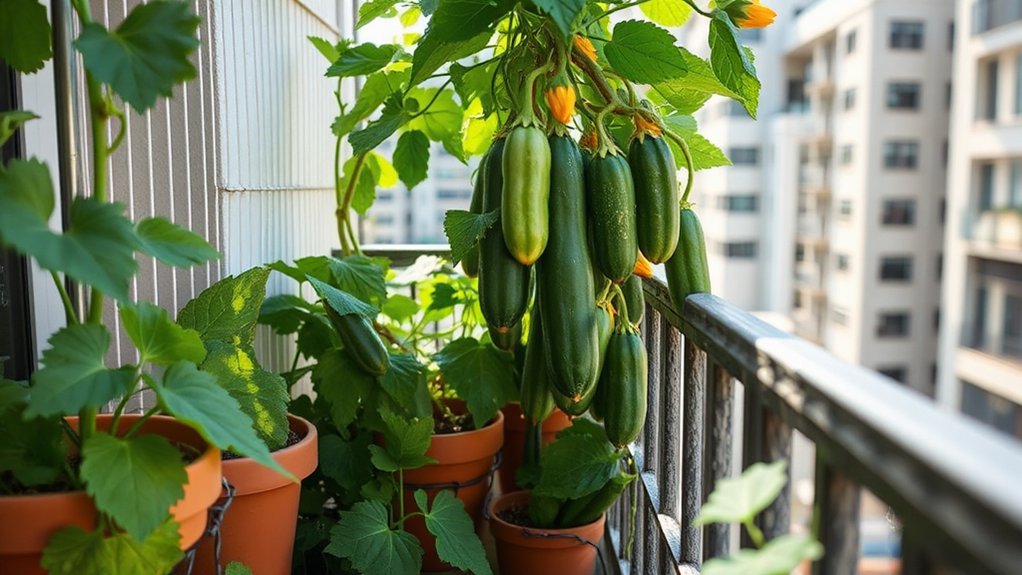
You’ll capture your vegetable garden’s best moments by photographing during golden hour, when warm, directional light improves colors and textures without harsh shadows. Use a smartphone or DSLR with macro capabilities to document everything from wide harvest shots to intimate details like water droplets on tomato leaves, and I’ve found that including context elements like garden tools adds authenticity to your compositions. Photograph systematically throughout seasons—spring seedlings against bare soil, summer abundance, fall succession planting, and winter’s frost-covered structures—to create valuable records that help identify pest problems early and track what works in your garden, turning casual snapshots into a comprehensive visual journal that discloses patterns you’d otherwise miss.
My Quick Highlights
- Use golden hour or overcast conditions to photograph harvests with soft, warm light that enhances vegetable colors and textures.
- Combine wide shots showing full harvest bounty with macro close-ups revealing intricate details like water droplets and leaf textures.
- Include contextual elements like garden tools or baskets to add authenticity and tell a complete visual story.
- Apply basic post-processing to adjust exposure, contrast, and white balance while maintaining authentic garden color palettes.
- Share photos on Instagram, Pinterest, or gardening communities with clear plant labels to increase engagement and feedback.
Why Photograph Your Vegetable Garden?

Why would you want to photograph something as seemingly mundane as rows of lettuce or ripening tomatoes?
Garden documentation creates a valuable record of your successes and failures, helping you improve each season. Capturing plant growth stages discloses patterns you might otherwise miss, from germination through harvest.
In my experience, reviewing photos from previous years has helped me identify pest problems two weeks earlier than visual inspection alone.
Garden storytelling through images likewise lets you share your knowledge with other growers, while preserving memories of particularly productive seasons.
Photography transforms your garden into a living laboratory worth studying.
Documenting your limited space techniques visually can provide inspiration for future innovative gardening approaches that maximize yields in small areas.
Essential Equipment for Garden Photography
Understanding the value of garden documentation naturally leads to inquiries about what camera gear you’ll need to capture meaningful images.
The right camera equipment transforms casual garden snapshots into professional documentation worth preserving for years to come.
You don’t need expensive tools to excel at natural light photography in your garden. A smartphone or basic DSLR works perfectly for most garden photography tips.
I’ve captured award-winning vegetable shots using merely my phone’s camera. For optimal garden depth of field, consider a lens with f/2.8 or wider aperture.
A macro lens unveils intricate details like water droplets on leaves, while a tripod ensures sharpness during early morning sessions when light is softest.
Understanding Natural Light in Garden Photography

Once you’ve assembled your camera gear, mastering light becomes your most powerful tool for transforming ordinary vegetable snapshots into compelling garden portraits.
Understanding sunlight patterns throughout the day will dramatically improve your harvest documentation.
Optimal lighting conditions for vegetable photography:
- Golden hour photography occurs during the first hour after sunrise and before sunset, creating warm, directional light.
- Overcast days provide soft, even illumination that eliminates harsh plant shadows.
- Midday backlighting highlights leaf textures and translucent qualities.
- Side lighting emphasizes three-dimensional form and surface details.
In my experience, shooting during golden hour yields the most vibrant tomato colors.
Composition Techniques for Vegetable Gardens
You’ll find that strong composition techniques can transform your vegetable garden photos from simple snapshots into compelling images that showcase both the beauty and productivity of your growing space.
When you’re photographing your garden, you need to consider how different compositional approaches work together, from wide shots that capture the full bounty of harvest time to intimate macro details that disclose the intricate textures of leaves, flowers, and developing vegetables.
In my experience with garden photography over the past decade, mastering both harvest-scale compositions and close-up macro techniques has been vital for creating a complete visual story of the garden’s progression from seed to table.
Capturing the Perfect Harvest Shot
While most gardeners focus solely on growing their vegetables, the moment of harvest presents an opportunity to capture stunning images that showcase months of dedication and care.
When harvesting vegetables, you’ll want to consider these vital elements for compelling plant portraits:
- Position vegetables in natural light, preferably during golden hour
- Include garden tools or baskets to add context and scale
- Capture dirt-covered hands holding fresh produce for authenticity
- Frame your garden composition with foliage in the background
In my experience, photographing tomatoes within thirty minutes of picking produces the most vibrant colors and dewdrop details.
Macro Photography for Garden Details
The intricate world of vegetable garden details becomes dramatically visible through macro photography, disclosing textures, patterns, and colors that escape the naked eye during casual garden walks.
You’ll need a macro lens or extension tubes to achieve plant close-ups with stunning clarity. Focus on capturing plant textures like tomato leaf trichomes, cucumber vine tendrils, or water droplets on kale.
In my experience, photographing morning dew on lettuce leaves at f/8 produces exceptional sharpness while maintaining beautiful background blur.
Use a tripod to stabilize your camera, ensuring crisp detail in every shot of these miniature garden landscapes.
Documenting Garden Growth Stages

Capturing your vegetable garden’s transformation from seedling to harvest requires a systematic approach that tracks essential developmental milestones throughout the growing season.
You’ll want to photograph the same plants at regular intervals, which allows you to create a comprehensive visual record of growth patterns, identify potential problems early, and celebrate your successes when plants reach maturity.
In my experience, combining seasonal documentation strategies with strategic timing during golden hour light produces the most compelling and informative garden progression photos, especially when you’re comparing how different varieties perform under identical conditions.
Implementing staggered planting schedules can create more dynamic photographic opportunities as different plants reach their peak visual appeal at various times throughout the season.
Seasonal Photography Tips for Vegetable Gardens
Each vegetable garden tells a unique story throughout the year, and documenting these seasonal transformations requires different photographic approaches as your plants progress from seeds to harvest.
Adapting to Garden Seasons:
- Spring: Capture emerging seedlings with macro lenses, emphasizing fresh growth against bare soil during cool weather conditions.
- Summer: Photograph during golden hour to avoid harsh midday light on mature plants.
- Fall: Document succession planting by showcasing both harvested beds and newly planted crops.
- Winter: Frame frost-covered structures and dormant beds.
In my experience, adjusting ISO settings for changing natural light produces sharper seasonal comparisons.
Golden Hour Photography in the Garden
While seasonal documentation provides the framework for garden photography, mastering golden hour techniques will dramatically improve your images of plants at every growth stage.
You’ll find the soft, directional light during sunrise and sunset creates depth, texture, and vibrant colors that harsh midday sun can’t match.
Optimal Garden Lighting Techniques
In my experience, shooting thirty minutes before sunset produces the warmest tones for tomatoes and peppers.
Morning dew photography works best for capturing leafy greens, as water droplets act as tiny prisms.
Understanding garden color theory helps you position complementary vegetables together, creating visually striking compositions that showcase your harvest’s true beauty.
Creating a Garden Photo Journal
Once you’ve captured your garden’s expedition through the seasons, you’ll need to transform those raw images into polished records that accurately represent your vegetables’ true colors, textures, and growth patterns.
Post-processing doesn’t mean creating artificial beauty—it’s about correcting lighting issues, adjusting white balance, and ensuring your photos match what you actually see in the garden.
In my experience with garden documentation over five years, spending only 2-3 minutes per photo on basic edits like exposure correction and sharpening has made the difference between usable records and images I’d discard, especially for photos taken in challenging morning dew or harsh midday sun.
Post-Processing Garden Photos
After you’ve captured hundreds of garden photos throughout the growing season, transforming them into a cohesive photo journal requires thoughtful post-processing that improves your images without sacrificing their natural beauty.
In my experience with vegetable garden photography, I’ve found these crucial post-processing techniques consistently deliver professional results:
- Adjust exposure and contrast to disclose vegetable details while maintaining authentic garden color palettes.
- Remove distracting elements from garden backgrounds using clone tools.
- Improve sharpness selectively on focal points like ripening tomatoes.
- Apply consistent color grading across seasonal images for visual cohesion.
These adjustments transform ordinary snapshots into compelling journal entries.
Sharing Your Garden Photography
Where should you share your vegetable garden photographs once you’ve captured stunning images of your harvests, plants, and growing progress?
Social media platforms like Instagram and Pinterest work exceptionally well for showcasing garden before and after transformations, while Facebook groups connect you with fellow gardeners.
In my experience, using clear plant labeling in photos generates more engagement and helpful feedback. Include garden focal points like trellises or mature plants to create visual interest.
Even with limited space, urban gardeners can document creative solutions like vertical gardens and container plantings to inspire others in similar city environments.
Consider starting a gardening blog to document your seasonal expedition, or contribute photos to online gardening communities where enthusiasts exchange cultivation tips and variety recommendations.
My Final Thoughts
You might think photographing your vegetable garden takes too much time away from actual gardening, but it’ll actually make you a better grower. When you’re actively documenting your harvest through photos, you’ll notice pest damage earlier, track what thrives in specific locations, and remember which varieties performed best. Your camera becomes a valuable garden tool, helping you plan smarter seasons ahead while preserving memories of your hard-earned harvests for years to come.