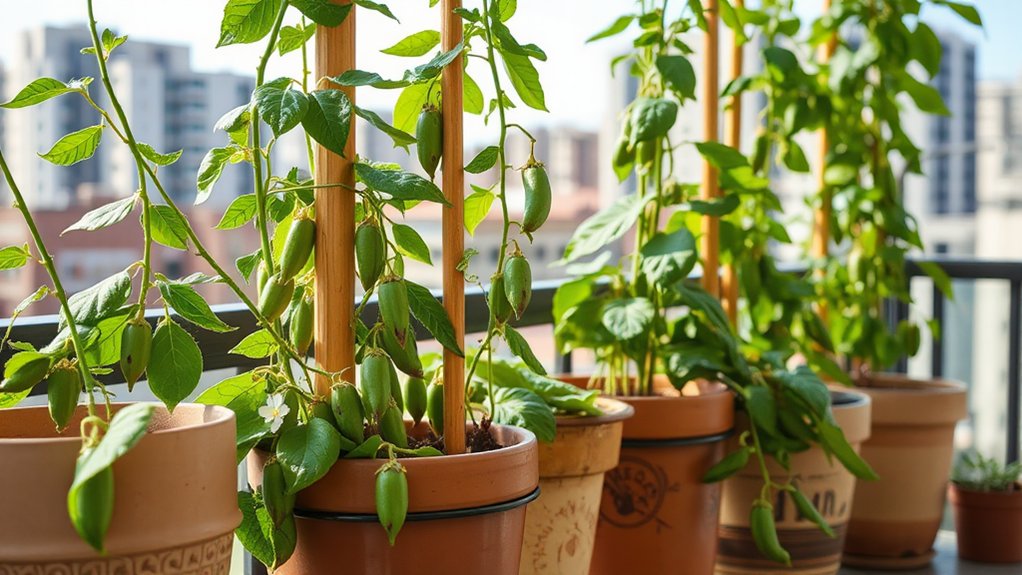
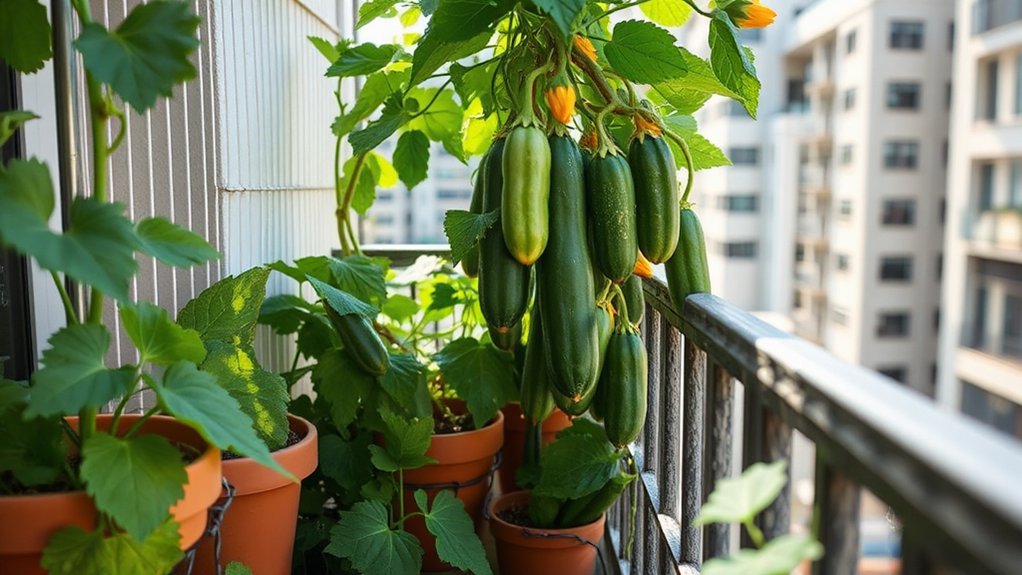
To save vegetable seeds from your garden, start by selecting open-pollinated or heirloom varieties, as hybrid seeds won’t reproduce true to type. Allow your healthiest plants to fully mature, then harvest seeds when they’re completely dry. For wet-processing vegetables like tomatoes, ferment seeds in water for 2-3 days to remove inhibitors, rinse thoroughly, and air-dry on paper towels. For dry seeds like beans and peppers, simply collect pods when crispy, extract seeds, and spread them out until moisture-free. Store your dried seeds in labeled, airtight containers in cool, dark conditions with humidity below 50%. In my experience, properly stored bean seeds maintain 90% germination rates for three years or more. The detailed steps below will show you exactly which vegetables respond best to specific seed-saving methods.
My Quick Highlights
- Choose heirloom or open-pollinated varieties rather than F1 hybrids to ensure seeds reproduce true-to-type offspring.
- Allow seeds to fully mature on healthy plants before harvesting at the proper time for each vegetable type.
- Use wet processing with fermentation for fleshy fruits like tomatoes; use dry processing for pod-bearing plants like beans.
- Dry seeds thoroughly on clean towels, then store in airtight containers labeled with variety and date information.
- Keep stored seeds in cool, dry conditions below 50% humidity and test viability periodically for germination capability.
Why Save Seeds from Your Garden?

When you save seeds from your garden, you’re not merely collecting a few dried pods or kernels—you’re preserving genetics that have already proven successful in your specific growing conditions.
This practice strengthens food security and food sovereignty while maintaining genetic diversity. Heirloom seeds and open-pollinated varieties offer climate adaptation advantages that seed company monopolies can’t replicate.
In my experience, saving seeds from tomatoes that flourished during a particularly dry season produced plants requiring 30% less water the following year.
You’re building sustainable practices and saving seeds for resilience while protecting seed diversity for future generations.
Understanding Seed Types: Heirloom vs. Hybrid
Before you invest time collecting and storing seeds, you’ll need to comprehend the fundamental difference between heirloom and hybrid varieties—a distinction that directly determines whether your saved seeds will produce plants identical to their parents.
Heirloom Seeds vs. Hybrid Seeds****
Heirloom seeds, as well as called heritage seeds or open-pollinated varieties, maintain genetic purity across generations through natural plant breeding.
In my experience saving seeds for twelve years, heirloom tomatoes like ‘Brandywine’ consistently reproduce true-to-type offspring with 95% seed viability.
Conversely, F1 hybrids result from controlled cross-pollination between two parent lines, producing unpredictable second-generation plants.
Focus your seed saving efforts on heirlooms for reliable results.
Essential Tools and Materials for Seed Saving

Successful seed harvesting requires surprisingly few specialized items, though investing in quality tools will dramatically improve your long-term storage results and germination rates.
Quality tools make all the difference in seed harvesting—the investment pays off in better storage outcomes and higher germination success.
A basic seed saving kit includes mesh seed screens for seed winnowing, paper seed envelopes for short-term storage, and airtight seed storage containers for long-term preservation.
You’ll need permanent markers for seed labeling, clean towels for seed drying, and fine-mesh sieves for seed cleaning.
In my experience, glass jars with silica gel packets maintain optimal humidity levels. Quality seed packets prevent moisture accumulation, while proper seed harvesting tools like sharp scissors ensure minimal damage during collection.
Selecting the Right Plants for Seed Saving
Once you’ve identified healthy, vigorous plants with desirable traits, you’ll need to understand the proper methods for extracting and storing their seeds.
The processing technique you’ll use depends entirely on the type of vegetable you’re working with, as different seed structures require different approaches.
Seeds from fleshy fruits like tomatoes and cucumbers need wet processing to remove germination inhibitors, while pod-bearing plants like beans and peas simply require dry processing methods.
Wet Processing: Saving Tomato and Cucumber Seeds
When you’re harvesting seeds from fleshy fruits like tomatoes and cucumbers, you’ll need to use wet seed processing. This fermentation method removes the gelatinous coating that inhibits seed germination. First, scoop tomato seeds into a jar with water, then let them ferment for three days, stirring daily. In my experience, proper fermentation significantly reduces seed-borne diseases while improving seed viability testing results.
| Seed Type | Fermentation Time |
|---|---|
| Tomato seeds | 3-4 days |
| Cucumber seeds | 2-3 days |
Rinse thoroughly, checking for seed maturity before seed storage.
Dry Processing: Harvesting Seeds from Beans and Peas
Unlike tomatoes and cucumbers that require fermentation, beans and peas produce seeds that dry naturally on the plant, making the harvesting process remarkably straightforward.
Members of the Fabaceae family, these annual vegetables excel in dry seed processing, offering excellent seed longevity when properly harvested.
Dry Processing Steps for Bean Seeds and Pea Seeds:
- Allow seed pods to brown completely on the plant, monitoring seed moisture content regularly.
- Remove entire pods before wet weather compromises quality.
- Shell dried pods, selecting unblemished seeds from your best specimens.
- Store in airtight containers after confirming complete dryness.
In my experience, proper plant selection and timing significantly improve seed saving techniques and germination rates.
Saving Seeds from Popular Vegetables

Now that you’ve identified which plants to save seeds from, you’ll need to master two critical techniques to ensure your seeds remain viable and true to type.
Cross-pollination between different varieties can create unexpected results in next year’s garden, thus understanding how to isolate your seed plants is vital for maintaining the characteristics you want.
Furthermore, proper drying methods will determine whether your carefully collected seeds sprout successfully or rot in storage, making this step equally important as the harvesting itself.
Preventing Cross-Pollination in Your Garden
Cross-pollination poses one of the biggest challenges for seed savers, because vegetables within the same species can exchange pollen and produce seeds that won’t grow true to type the following season.
Understanding pollination techniques helps you maintain pure seed lines.
Here are four methods to prevent unwanted cross-pollination:
- Physical separation – Maintain proper isolation distance between varieties, typically 800 feet to half a mile for wind-pollinated crops.
- Temporal isolation – Stagger flowering times, enabling plants to bloom at different periods.
- Hand pollination with bagging flowers – Manually transfer pollen, then cover with fabric bags.
- Grow one variety – Focus on single varieties within vegetable families, particularly for biennial vegetables.
Proper Seed Drying Techniques
After you’ve successfully prevented cross-pollination and harvested your seeds, proper drying becomes the critical next step that determines whether your seeds will remain viable for years or succumb to mold and rot within months.
Saving vegetable seeds requires maintaining humidity control below 50% and spreading seeds on screens or paper plates in a well-ventilated area.
In my experience, pepper seeds and squash seeds take 7-10 days to dry completely, while lettuce seeds need only 3-4 days.
Before seed starting next growing season, perform a germination test by placing ten seeds on damp paper towels.
Store dried seeds in seed saving containers, clearly labeled for your home seed bank.
Long-Term Seed Storage Solutions
Once you’ve properly stored your seeds, you’ll want to ensure they remain viable for future growing seasons, which means testing them periodically and keeping track of when you collected each variety.
I’ve learned through years of seed saving that even perfectly stored seeds lose viability over time, with some vegetables maintaining germination rates of 80% or higher for five years while others decline rapidly after merely one season.
Testing Seed Viability Before Planting
Before you commit precious garden space to stored seeds, you’ll want to verify they’re still capable of germinating, especially if they’ve been sitting in your collection for more than a year.
Simple Germination Test Steps:
- Count out 10 seeds from your vegetable seeds collection, placing them between damp paper towels inside a sealed plastic bag.
- Keep at room temperature for 5-14 days, checking moisture levels daily.
- Calculate germination rate by counting sprouted seeds (7 out of 10 equals 70% viability).
- Document results in your seed saving calendar for future reference.
In my experience, seeds from community seed banks typically maintain 80-90% viability when properly stored.
Creating a Seed Saving Calendar for Your Garden
Why keep track of seed saving activities on random scraps of paper when a dedicated calendar system can transform your vegetable gardening into a well-organized, multi-year operation?
Document when each plant family—Solanaceae, Cucurbitaceae, Brassicaceae, Amaranthaceae, and Apiaceae—produces viable seeds, noting bolting dates for regional adaptation.
In my experience, tracking crop rotation patterns alongside seed saving schedules prevents cross-contamination and maintains genetic purity.
Include dates for attending seed saving workshops and organic gardening events.
I’ve found that recording weather conditions, harvest windows, and germination rates creates invaluable data for future seasons, turning casual gardening into systematic seed stewardship.
My Final Thoughts
You’ve now got everything you need to save seeds for countless generations to come. By selecting healthy parent plants, using proper harvesting techniques, and storing your seeds correctly, you’ll build a personal seed bank that’d make any serious gardener jealous. Remember, you’re not merely preserving vegetables—you’re maintaining genetic diversity, saving money, and creating a more self-sufficient garden. Start with easy vegetables like tomatoes and beans, then expand your seed-saving skills from there.