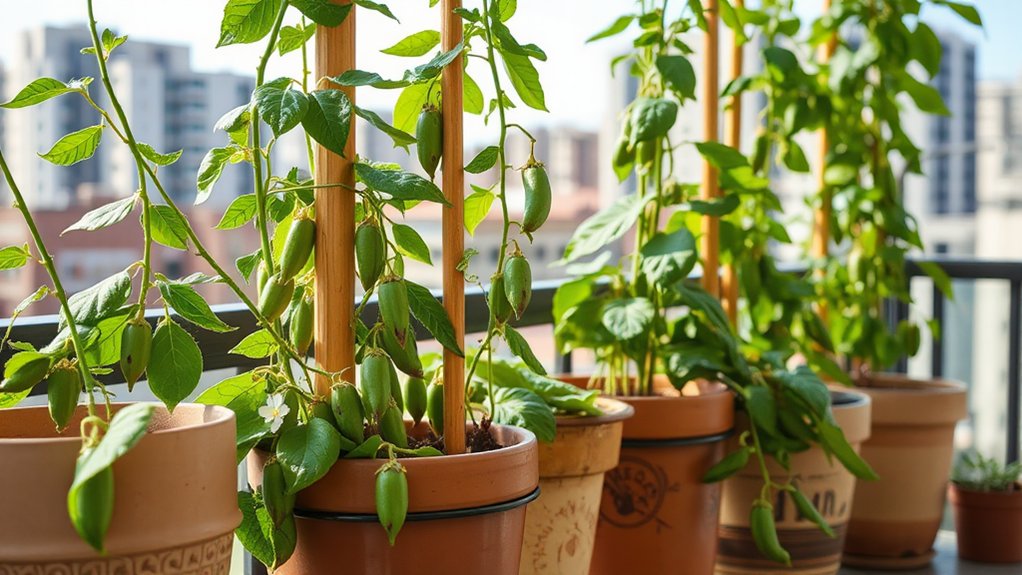
You’ll need to replace your container garden soil when you spot telltale warning signs like compaction, poor drainage, water pooling on the surface, or white salt buildup on pot rims. Annual vegetables and herbs require fresh soil each spring, while perennials can wait two to three years between full replacements. In my experience, adding quarterly compost top-dressing extends soil life significantly, though heavy feeders still demand annual refreshing for optimal yields. Small containers under 10 inches need more frequent changes than larger ones, and indoor pots typically last 18 months before requiring attention. Understanding these replacement schedules and recognizing when rejuvenation surpasses complete replacement helps maximize your container garden’s potential.
 While container gardens offer flexibility and convenience, the potting mix inside them doesn’t last forever, and recognizing when it’s time for fresh soil can mean the difference between thriving plants and battling ones.
Watch for soil compaction, which restricts root growth and causes poor drainage. When water pools on the surface or rushes straight through, your soil texture has deteriorated.
Nutrient depletion leaves plants stunted, while white salt buildup on pot rims indicates mineral accumulation. Root bound containers, fungal problems, and soil-borne pests signal exhausted mix.
In my experience, compromised water retention and visible plant stress are your clearest indicators for replacement.
 You’ll need to adjust your soil replacement timeline based on the type and size of containers you’re using, since different pots present unique challenges for maintaining healthy growing conditions.
Small containers, typically those under 10 inches in diameter, require more frequent soil changes because their limited volume depletes nutrients faster and allows salts to concentrate more quickly.
Large containers, hanging baskets, and specialty planters each have distinct requirements that I’ve found can significantly impact your plants’ vigor.
Understanding these differences will help you create a replacement schedule that keeps your container garden thriving year after year.
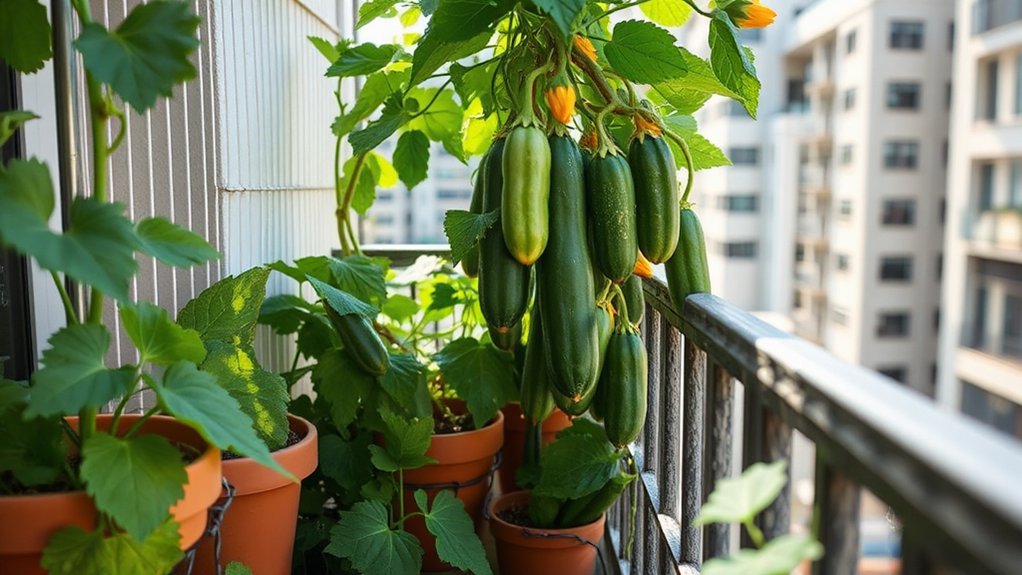
For truly space-constrained gardeners, innovative container solutions can maximize your growing potential while requiring specific soil maintenance considerations.
 Before you dump your container soil and start fresh, you’ll want to understand that rejuvenation can save you money and reduce waste in many situations.
The decision between amending existing soil and complete replacement depends on several factors, including the age of your potting mix, the types of plants you’ve grown, and whether you’ve noticed disease or pest problems.
In my experience testing both methods over five growing seasons, I’ve found that containers used for annual vegetables benefit from full replacement every two years, while perennial containers respond well to annual top-dressing with fresh compost and a complete soil refresh every three to four years.
 Although many gardeners toss their old potting mix onto the compost pile without a second thought, you can actually rejuvenate and reuse this valuable resource for multiple growing seasons with merely a few strategic amendments.
This approach to soil recycling reduces both environmental impact and soil cost significantly.
Before reusing container soil, you’ll need to eliminate potential plant diseases and pest infestation through soil sterilization.
In my experience, soil solarization works effectively—I seal moistened soil in black plastic bags, leave them in direct sunlight for six weeks, then amend with slow-release fertilizer and organic fertilizer for sustainable gardening practices.
My Quick Highlights
- Replace soil annually for container vegetables, herbs, and annuals during spring refresh to ensure optimal nutrients and plant vigor.
- Container perennials need soil replacement every two to three years, with annual top-dressing extending this to four years.
- Small containers under 10 inches require more frequent soil changes than larger containers due to faster nutrient depletion.
- Replace soil when signs appear: compaction, poor drainage, white salt buildup, stunted growth, or water pooling on surface.
- Indoor containers typically need soil refreshing every 18 months, while outdoor containers follow seasonal crop rotation schedules.
Signs Your Container Garden Soil Needs Replacement
Annual vs. Partial Soil Replacement: What’s Best?
Once you’ve identified that your container soil needs attention, you’ll face a practical decision: should you replace everything annually or refresh portions throughout the growing season? Annual Soil Replacement Complete annual soil replacement works best for heavy feeders and ensures optimal soil health. Heavy feeders demand fresh soil annually—skipping this step compromises both plant vigor and overall container performance. Remove all old potting mix during spring repotting, inspecting roots and refreshing everything simultaneously. Partial Soil Replacement Partial soil replacement involves top-dressing with fresh compost mid-season, which maintains soil nutrients without disturbing roots. In my experience, combining quarterly compost additions with liquid fertilizer extended my tomato harvest by three weeks. This approach supports ongoing soil rejuvenation while reducing waste from container plants.How Soil Quality Affects Plant Health and Growth
Different Replacement Schedules for Various Containers
Container type and size directly influence how quickly soil deteriorates, which means you can’t apply a one-size-fits-all replacement schedule across your entire garden. Container vegetables and container herbs demand fresh soil annually, ideally during your spring refresh. Container annuals likewise need yearly changes, while container perennials can wait two to three years. In my experience, container crop rotation with outdoor containers requires fall preparation soil replacement to prevent disease buildup. Indoor containers typically need refreshing every 18 months. Seasonal care varies significantly between these categories, thus I’ve developed different schedules for optimal results.Rejuvenating vs. Replacing: Soil Amendment Options
How to Properly Replace Container Garden Soil
Two distinct approaches exist when dealing with depleted container soil: complete replacement or strategic rejuvenation through amendments. Complete soil replacement ensures optimal root health, particularly when you’re starting fresh plantings. Remove old soil carefully, checking drainage holes for blockages, then fill with commercial potting soil or DIY potting mix enriched with organic matter. In my experience, combining three parts commercial potting soil with one part compost yields exceptional results. Consider composting old soil rather than discarding it—I’ve successfully reused amended container garden soil after adding perlite and fresh compost, although soil reuse works best for ornamentals rather than edibles requiring pristine growing conditions.Recycling and Reusing Old Potting Soil Sustainably