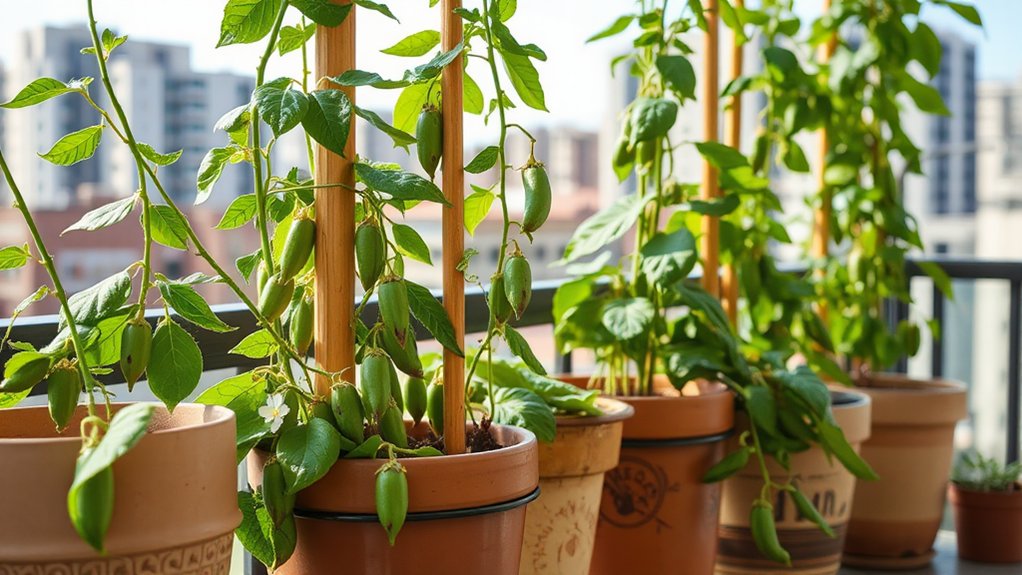
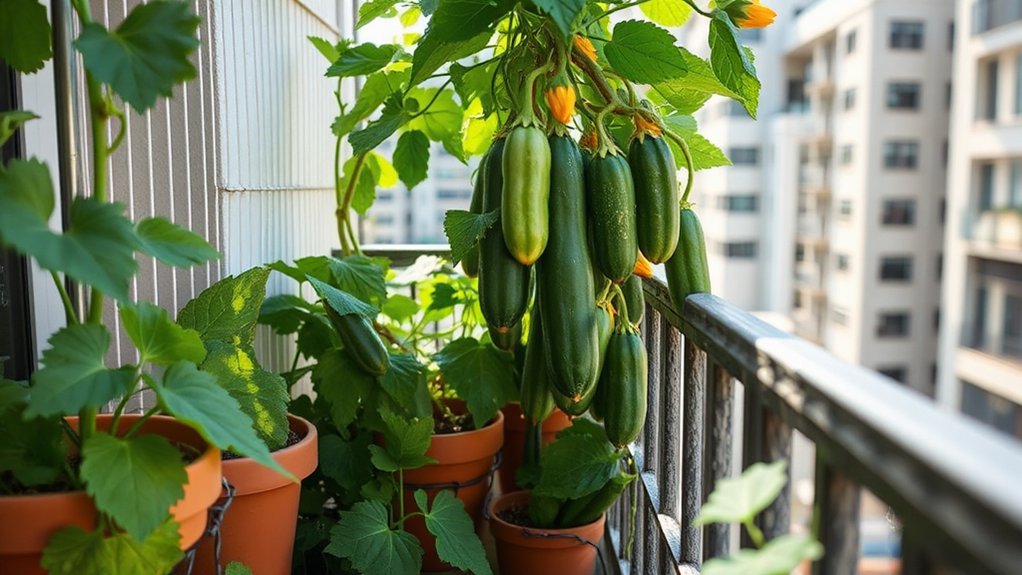
If you want to reduce waste and create nutrient-rich soil for your plants, vermicomposting might be the perfect solution for your apartment. Learning how to start vermicomposting doesn’t require a backyard or extensive space. With only a few materials and some red wiggler worms, you can transform your kitchen scraps into black gold for your urban garden.
But before you dig into it, there’s more to evaluate than merely tossing worms into a bin with some banana peels. Proper setup and maintenance are important for a successful worm composting system. Let’s look into how you can begin this rewarding expedition and turn your kitchen waste into valuable compost for your plants.
Our Quick Highlights
- Choose a small, well-ventilated bin with a tight-fitting lid for indoor use, ensuring proper drainage and airflow.
- You can create bedding by mixing shredded newspaper, cardboard, or coconut coir with dry leaves and a handful of soil.
- Introduce red wiggler worms (Eisenia fetida) to your bin. They’re best suited for indoor vermicomposting.
- Feed worms kitchen scraps like fruit and vegetable peels, avoiding meat, dairy, and acidic foods.
- Maintain optimal moisture levels and temperature (55°F-85°F) in your apartment bin for healthy worm activity.
What is Vermicomposting?

Immerse yourself in the world of vermicomposting, a unique and efficient composting method that harnesses the power of specialized earthworms. This process employs red wigglers (Eisenia fetida) to break down organic waste into nutrient-rich compost called vermicast.
Unlike traditional composting, vermicomposting accelerates decomposition rates, transforming kitchen scraps and other organic materials into valuable worm castings.
The benefits of vermicomposting are numerous:
- Produces nutrient-dense compost
- Improves soil fertility
- Promotes healthy plant growth
- Reduces landfill waste
- Lowers carbon emissions
Vermicomposting is an eco-friendly alternative for urban dwellers with limited space.
It allows for indoor composting without unpleasant odors, making it ideal for apartments and small living environments.
Benefits of Vermicomposting

When you start vermicomposting, you’re taking a significant step towards reducing your environmental impact.
You’ll redirect organic waste from landfills, which helps reduce greenhouse gas emissions associated with waste decomposition.
Furthermore, the nutrient-rich worm castings produced through this process will improve your garden’s health by increasing soil fertility, structure, and natural pest resistance.
Environmental Impact
While many people view composting as a straightforward way to reduce household waste, vermicomposting offers far-reaching environmental benefits that extend well beyond your home.
By redirecting organic waste from landfills, you’re reducing methane emissions, 25 times more potent than carbon dioxide over a century. Your worm bin creates a thriving environment for the worms, producing nutrient-rich compost that improves soil health. This process elevates plant growth and soil fertility while promoting carbon sequestration.
Vermicomposting contributes to sustainable living practices by:
- Reducing reliance on chemical fertilizers
- Fostering healthier urban ecosystems
- Encouraging eco-friendly habits among apartment dwellers
As an educational tool, your worm bin raises awareness about waste management and environmental stewardship.
Garden and Plant Health
Five significant benefits make vermicomposting a game-changer for garden and plant health.
When you add worm castings to your garden soil, you’re introducing a powerhouse of nutrients that boost soil fertility and promote healthier plant growth.
These castings improve soil structure, increasing aeration, drainage, and moisture retention, vital for optimal plant development.
The benefits of vermicomposting for your garden include:
- Higher growth rates in plants
- Improved resistance to pests and diseases
- Introduction of beneficial microbes and enzymes
- Reduced need for chemical fertilizers
Essential Materials for Vermicomposting

To start your vermicomposting adventure, you’ll need a few crucial items. First, select a durable, non-transparent worm bin with adequate aeration holes. A plastic storage container or tiered worm farm design also works well, maximizing space efficiency.
Next, prepare the bedding using shredded newspaper, coconut coir, cardboard, or dry leaves. This creates a damp, dark environment mimicking the worms’ natural habitat.
Red wigglers (Eisenia fetida) are ideal for your composting crew. Under optimal conditions, these efficient decomposers can consume their weight in food daily. Stock your bin with kitchen scraps like fruit and vegetable waste, coffee grounds, and crushed eggshells. Avoid meat, dairy, and highly acidic foods that may harm the worms.
Maintain proper moisture levels in the bin, ensuring the bedding remains damp but not soggy. Aim for a consistency similar to that of a wrung-out sponge to support healthy worm activity and decomposition.
Choosing the Right Worms

Red Wigglers (Eisenia fetida) are the go-to species for most composters when choosing worms for your vermicomposting system.
These hardy worms are ideal for composting due to their voracious appetite and adaptability to various worm habitat conditions.
Nevertheless, other species can likewise be effective for vermicomposting, depending on your needs and environment. Consider these options:
- European Nightcrawlers (Eisenia hortensis): Larger and tolerant of cooler temperatures
- African Nightcrawlers (Eudrilus eugeniae): Thrive in warm, moist environments
- Alabama Jumpers (Amynthas gracilis): Excellent for outdoor systems and soil aeration
- Red Wigglers (Eisenia fetida): The most versatile and commonly used species
Regardless of the species you choose, sourcing your worms from reputable suppliers or local farmers is essential.
This ensures you start with healthy worms, free from pests or diseases that could negatively impact your vermicomposting system.
Setting Up Your Vermicompost Bin

When setting up your vermicompost bin, you must decide whether to keep it indoors or outdoors. Each option offers distinct advantages and challenges.
Indoor bins offer better temperature control and more accessible access, while outdoor bins can handle larger volumes and integrate more seamlessly with your garden.
Proper bedding materials are essential regardless of location. A mix of shredded newspaper, cardboard, and moistened coco coir provides an ideal habitat for your worms to thrive and process organic waste efficiently.
Indoor vs. Outdoor Bins
Choosing between indoor and outdoor bins for your vermicomposting setup depends on several factors, including available space, climate, and convenience.
Indoor bins offer more temperature control. They’re ideally kept between 55°F and 85°F for optimal worm activity, making them perfect for apartments or areas with extreme weather.
Conversely, outdoor bins can handle larger quantities of waste but require protection from direct sunlight and harsh conditions.
Consider these crucial differences when deciding:
- Temperature control: Indoor bins are easier to maintain at ideal temperatures
- Space requirements: Vertical migration bins work well indoors, while outdoor setups can employ larger horizontal systems
- Weather protection: Outdoor bins need shading or insulation against extreme weather
- Ventilation: Both types require proper airflow, achieved through drilled holes or screened coverings
Ensure adequate ventilation to promote a healthy worm environment regardless of your choice.
Bedding Materials
Creating the right environment for your worms is vital for successful vermicomposting. When setting up your bin, use ideal bedding materials that mimic the worms’ natural habitat. Shredded newspaper, cardboard, aged horse manure, and coconut coir are excellent choices.
Combine these with dry leaves and soil to create a diverse, well-aerated ecosystem.
Proper moisture management is significant for your worms’ health. Keep the bedding damp like a wrung-out sponge to prevent odors and maintain optimal conditions. Before introducing worms, moisten and fluff the bedding to ensure proper aeration.
To maintain your vermicompost bin:
- New bedding materials should be added regularly every few weeks.
- Monitor moisture levels, adjusting as needed.
- Incorporate a mix of bedding types to support microbial activity.
- Fluff the bedding periodically to prevent compaction.
Feeding Your Worms

When feeding your worms, providing them with a balanced diet of suitable food scraps is essential.
You should focus on kitchen waste like fruit and vegetable peelings, coffee grounds, and shredded paper, which are all excellent choices for your wriggly composters.
Nevertheless, it’s just as important to know what to avoid:
Avoid meat, dairy products, citrus fruits, and processed foods, as these can create unpleasant odors and attract unwanted pests to your vermicompost bin.
Suitable Food Scraps
For successful vermicomposting, you must feed your worms the right food scraps. Suitable food scraps for worms include various organic materials, primarily fruit and vegetable peels, coffee grounds, and crushed eggshells.
These items provide crucial nutrients for your worm population and promote healthy composting. To ensure optimal feeding, follow these recommendations:
- Chop food scraps into smaller pieces to speed up decomposition.
- Introduce food gradually, starting with 1-2 pounds per week.
- Rotate food types to prevent dietary imbalances.
- Avoid meat, dairy, oily foods, citrus fruits, and processed items.
Foods to Avoid
Successful vermicomposting requires careful consideration of what not to feed your worms. When adding food to your composting trays, it is essential to avoid certain items that can harm your worms or disrupt the bin’s ecosystem.
Here’s a list of foods to avoid:
- Meats and dairy products: These attract pests and cause unpleasant odors.
- Citrus fruits: Limit orange and lemon peels due to their high acidity.
- Spicy and salty foods: Hot peppers and savory leftovers can irritate worms.
- Processed foods: Bread and sugary snacks may lead to mold growth.
- Sawdust and treated grass clippings: These may contain harmful chemicals.
Maintaining Your Vermicompost System

Maintaining your vermicompost system involves five vital practices to keep your worms happy and productive.
Regular monitoring of moisture levels is important. Aim for a damp sponge-like consistency. Feeding your worms small amounts of kitchen scraps every 1-2 weeks ensures they have enough to eat without overwhelming the system.
Proper bin maintenance includes:
- Incorporating diverse bedding materials like shredded newspaper and coco coir
- Checking the temperature, keeping it between 55°F and 85°F (13°C to 29°C)
- Harvesting worm castings every few months
- Encouraging worm migration to collect nutrient-rich compost
Harvesting Vermicompost

After months of diligent care, your vermicompost bin will produce nutrient-rich castings ready for harvest. Typically, harvesting begins three to six months after starting your bin when you notice dark, crumbly castings resembling rich soil.
To make the process easier, feed your worms on one side of the bin, encouraging them to migrate away from the compost you’ll collect.
When harvesting, follow these steps:
- Gather castings from the side opposite where you’ve been feeding.
- Sift the harvested material through a screen to remove larger chunks.
- Check moisture levels; aim for a consistency like damp cake crumbs.
- Apply the finished compost to your plants’ soil.
Troubleshooting Common Issues

Even with the best care, you may encounter challenges in your vermicomposting expedition. Common issues often stem from improper moisture levels, overfeeding, or seasonal changes. To troubleshoot effectively, consider these essential points:
- Fruity odors or flies: Reduce feeding and add dry bedding to balance moisture.
- Escaping worms: Check for extreme temperatures or unsuitable bedding materials.
- Excessive mold on food scraps: Bury scraps and decrease feeding frequency.
- Worms at the surface: Ensure adequate bedding coverage and proper moisture levels.
Monitor your bin regularly, adjusting conditions as needed.
If you notice worms congregating at the top, it may indicate insufficient bedding or moisture imbalance.
Advanced Vermicomposting Techniques

Once you’ve mastered the basics of vermicomposting, you can explore advanced techniques to optimize your system’s efficiency and yield. Consider these advanced vermicomposting techniques:
- Multi-tiered systems: Use vertical bins for better space utilization.
- Batch composting: Implement barriers to encourage worm migration.
- Worm tea: Brew liquid fertilizer from castings for improved plant nutrition.
| Technique | Benefit | Implementation |
|---|---|---|
| Species diversity | Enhanced performance | Experiment with different worm types |
| Aeration techniques | Better oxygen circulation | Regularly mix bin contents |
| Vertical systems | Space optimization | Use stacked trays or tiered bins |
To further refine your process, try experimenting with different worm species to find the best performers for your conditions. Regular aeration is essential; mix your bin contents to promote oxygen circulation, manage moisture, and prevent anaerobic conditions. These advanced methods will help you maximize the efficiency of your apartment vermicomposting system.
Using Vermicompost in Your Garden

Now that you’ve mastered vermicomposting, it’s time to use your nutrient-rich castings in your garden. Vermicompost, often called “black gold,” is a powerful organic matter that can significantly boost soil quality and plant health.
To use vermicompost effectively:
- Mix it with existing soil in a 1:4 ratio
- Apply as a top dressing around plants
- Use it to create nutrient-rich potting mixes
- Brew vermicompost tea for a liquid fertilizer
This nutrient-dense material contains up to 5 times the nutrients in traditional compost, promoting healthier plant growth and increased yields.
YBF Final Thoughts
As you commence your vermicomposting adventure, you’ll soon uncover the hidden world beneath the surface. Your worms will work tirelessly, transforming waste into black gold. Each day, anticipation builds as you wait to harvest your first batch of nutrient-rich compost. You’re not merely creating soil; you’re nurturing a miniature ecosystem. Soon, your plants will thrive, and you’ll wonder how you ever gardened without your wriggling allies. The future of your urban oasis is looking bright, truly.