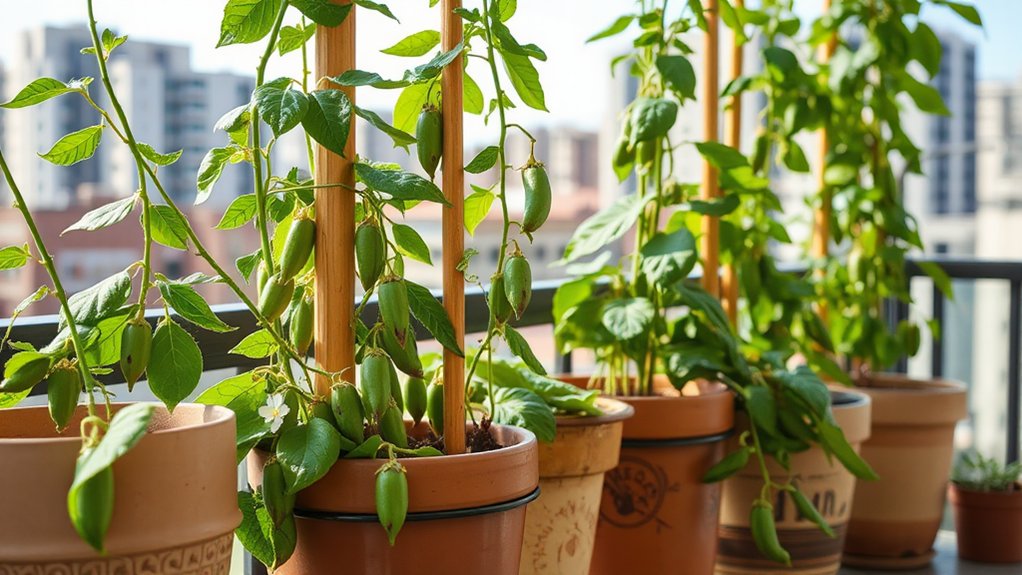
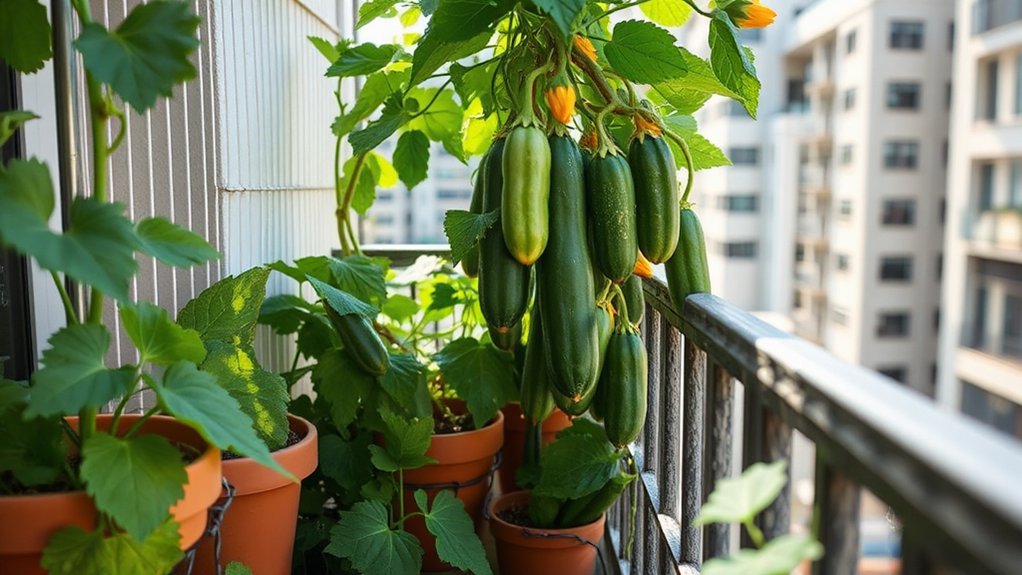
Is indoor seed starting very important for urban gardeners or a trendy hobby? You might be surprised to learn that this practice can greatly prolong your growing season and yield healthier, more vigorous plants. By mastering how to start indoor seeds, you’ll gain control over important factors like soil quality, moisture levels, and light exposure—elements that can make or break your gardening success.
Whether you’re a novice with limited outdoor space or an experienced grower looking to optimize your harvest, understanding the nuances of this technique can transform your urban gardening experience. Let’s look into how you can harness the power of indoor seed to improve your green thumb skills and overall gardening results.
Our Quick Highlights
- Choose the proper containers, soil mix, and lighting for optimal seedling growth in urban spaces.
- Select seeds suitable for indoor starting and your local climate to ensure successful transplanting.
- Maintain proper moisture levels, temperature, and humidity for effective germination and seedling development.
- Provide adequate light (12-16 hours daily) using grow lights positioned 2-4 inches above seedlings.
- Gradually harden off seedlings over 1-2 weeks before transplanting outdoors to ensure plant resilience.
Benefits of Starting Seeds Indoors

Gardeners’ success often hinges on their ability to maximize the growing season. Indoor seed starting offers numerous advantages that can significantly improve your gardening outcomes.
Germinating seeds indoors will extend your growing period, allowing for earlier harvests and multiple crop cycles. This controlled environment shields young plants from harsh outdoor conditions, pests, and diseases, enhancing seedling survival rates.
When starting seedlings indoors, you can fine-tune soil moisture and nutrient levels to each plant’s needs, fostering optimal growth conditions. Providing adequate lighting and temperature control makes sturdier plants better prepared for outdoor transplanting.
Furthermore, indoor germination reduces competition from weeds, enabling seedlings to develop stronger root systems before facing outdoor challenges. These benefits collectively contribute to higher germination rates and more successful gardening efforts.
Essential Supplies for Indoor Seed Starting

Gathering some crucial supplies to start your indoor seed-growing adventure would be best.
First, focus on containers and growing medium: choose multi-cell seed trays and fill them with a high-quality seed starting mix that includes peat moss, compost, perlite, and vermiculite.
Next, ensure proper lighting and watering tools: invest in fluorescent or LED grow lights that can provide 12-16 hours of daily illumination, and consider using a humidity dome to maintain optimal moisture levels during germination.
Containers and Growing Medium
What do you need to start your seeds indoors successfully? Two essential elements are proper containers and the right growing medium.
Select high-quality seed trays or pots with adequate drainage to prevent waterlogging and promote healthy root development. Opt for a specialized seed starting mix that’s lightweight, sterile, and moisture-retentive.
Consider these significant points:
- Choose container sizes that accommodate seedling growth
- Clean containers thoroughly to prevent disease
- Use labels to identify different seed varieties
When selecting containers, multi-cell trays work well for smaller plants, while larger pots suit seedlings needing more space.
Ensure your chosen containers are free from contaminants that could hinder growth. Using appropriate containers and a quality seed starting mix will create an optimal environment for your seeds to germinate and thrive indoors.
Lighting and Watering Tools
Now that you’ve sorted your containers and growing medium, it’s time to focus on lighting and watering tools for your indoor seed-starting setup. Proper lighting is vital for healthy seedling growth.
Install fluorescent or LED lights with a color temperature of 5000-6000 Kelvin, positioning them 2-3 inches above the plants. Provide 12-16 hours of light daily, adjusting the height as seedlings grow.
Use tools like misters or spray bottles to maintain optimal moisture without oversaturating for watering. Consider bottom watering techniques using trays to prevent damping-off disease.
Humidity domes can create a controlled environment, enhancing germination rates.
Essential supplies for indoor seed starting:
- Fluorescent or LED grow lights
- Timer for consistent light cycles
- Mister or spray bottle
- Watering trays for bottom watering
- Humidity domes for seed trays
Choosing the Right Seeds for Indoor Starting

Your selection of seeds for indoor starting can make or break your urban gardening success. Focus on fast-growing, space-efficient plants like lettuce, radishes, and herbs to maximize yields in limited environments. Opt for organic seeds, which typically offer better germination rates and overall plant health.
When choosing the right seeds, consider these essential factors:
- Your local climate and growing zone
- Seeds that thrive indoors and transplant outdoors well (e.g., tomatoes, peppers)
- Growth habits and care requirements compatible with your setup
Pay close attention to seed packet descriptions for vital information on light, depth, and temperature needs. By selecting seeds suited to your specific conditions and indoor gardening setup, you’ll set yourself up for a successful urban growing experience.
Step-by-Step Guide to Planting Indoor Seeds

To start your indoor seeds successfully, you must focus on two essential areas: preparing and sowing and watering and care techniques.
First, ensure you’ve got the right soil mix and containers ready, then carefully plant your seeds at the proper depth.
Once planted, you must maintain consistent moisture and provide adequate light to support healthy germination and seedling growth.
Preparing and Sowing
Before planting your seeds, prepare the soil and set up your trays.
Begin by moistening your seed starting soil mix until it’s the consistency of cake batter. This ensures optimal moisture for germination. Fill your trays, leaving a small gap at the top, and gently level the soil without compressing it too firmly.
Now, you’re ready to sow:
- Create shallow indentations in the soil, following seed packet instructions for depth (typically 2x the seed’s diameter).
- Place seeds in the indentations and lightly cover with soil.
- Label each tray or cell with the seed type and variety for accurate identification.
Maintain consistent moisture through bottom watering and provide 12-16 hours of light daily.
This careful preparation and attention to detail will set the stage for healthy seedling growth and a successful indoor garden.
Watering and Care Techniques
Proper watering and care are vital for the success of your indoor seedlings. To maintain optimal soil moisture, implement bottom watering techniques. This method allows seedlings to absorb water from the base of their containers, preventing waterlogging.
Use a spray bottle to mist the soil surface, maintaining humidity during the significant germination phase.
Monitor your seedlings daily, as they can quickly dry out under indoor lighting. Adjust your watering methods based on environmental conditions:
- Check soil moisture regularly, ideally daily.
- Look for signs of overwatering, such as yellowing leaves or mold.
- Reduce watering if you notice these symptoms to prevent disease.
- Increase frequency during warmer, drier periods.
Optimal Conditions for Seed Growth

Success in indoor seed starting hinges on creating the perfect environment for your seeds to thrive. To achieve optimal conditions for seed growth, you’ll need to focus on several essential factors.
First, use a high-quality seed starting mix that retains moisture and promotes proper aeration. Maintain a consistent soil temperature between 65-75°F, as cooler temperatures can slow germination. Keep humidity at 70% during the initial stages to encourage faster sprouting.
For healthy seedling development:
- Provide 12-16 hours of light daily, positioning the light source 2-3 inches above plants.
- Ensure adequate air circulation with fans to prevent mold and strengthen stems.
- Monitor moisture levels carefully, avoiding overwatering or underwatering.
Common Mistakes in Indoor Seed Starting

Even experienced gardeners can fall prey to common pitfalls when starting seeds indoors.
One of the most frequent errors is overwatering seedlings, which can lead to root rot and fungal diseases. To avoid this, maintain consistent soil moisture without waterlogging.
Another mistake is neglecting seedlings’ light requirements. Provide 12-16 hours of light daily to prevent leggy growth and ensure strong, compact plants.
Monitoring soil temperature is essential, as many seeds have specific temperature ranges for optimal germination. Use a soil thermometer to ensure proper conditions.
Furthermore, using low-quality seed-starting soil can result in poor germination rates and weak seedlings. Invest in high-quality soil with proper nutrients and drainage.
Lastly, don’t forget to harden off your seedlings before transplanting outdoors, gradually acclimating them to prevent transplant shock and ensure their survival.
Caring for Seedlings: Germination to Transplant

From the moment your seeds sprout, caring for seedlings requires attention to detail and consistent management. Proper moisture, air circulation, and environmental monitoring are vital for healthy seedling development.
As your seedlings grow, you’ll need to:
- Maintain consistent soil moisture using bottom watering techniques
- Ensure adequate air circulation with fans to strengthen stems
- Monitor light and temperature conditions closely
Once seedlings develop 1-2 sets of true leaves, they’re ready for transplanting into larger pots with nutrient-rich soil. This step supports continued growth and prepares them for life outdoors.
It’s important to harden seedlings off before moving them outdoors permanently. Gradually acclimate your young plants to outdoor conditions over 1-2 weeks, starting with a few hours in a sheltered location and slowly increasing their exposure to sunlight and wind.
This process ensures a smooth transition from germination to thriving outdoor plants.
Hardening Off: Preparing for Outdoor Life

After nurturing your seedlings indoors, it’s time to prepare them for life outside. Hardening off is an essential process that gradually acclimates your tender plants to outdoor conditions, minimizing transplant shock. Here’s how to do it:
- Start by placing seedlings in a sheltered spot outdoors for a few hours daily.
- Gradually increase exposure to sunlight, wind, and temperature fluctuations over 1-2 weeks.
- Plants should be moved to less protected areas to build resilience.
- Monitor weather forecasts and bring seedlings indoors if cold snaps are expected.
This process strengthens your plants, improving their chances of survival when transplanted.
Troubleshooting Seed Starting Issues

While hardening off prepares your seedlings for outdoor life, you might encounter challenges during indoor growing. Common issues include poor germination due to inconsistent moisture, leggy seedlings from insufficient light, and temperature fluctuations hindering development.
To troubleshoot these problems:
- Maintain consistent soil moisture without overwatering to prevent damping off disease.
- Provide 12-16 hours of light daily using quality grow lights to promote sturdy growth.
- Use a heating mat to maintain optimal soil temperatures, especially for heat-loving crops.
Root binding can occur when seedlings outgrow their containers. To support continued growth, transplant to larger pots with fresh soil.
If you notice yellowing leaves, it may indicate nutrient deficiencies. Apply a diluted water-soluble fertilizer to provide crucial nutrients for healthy seedling development.
Advanced Techniques for Experienced Gardeners

Mastering advanced techniques can take your indoor seed to the next level. For experienced gardeners, implementing hydroponic systems offers optimized space and resource utilization, resulting in faster growth rates and precise nutrient control.
Consider these cutting-edge approaches:
- Adjustable spectrum lighting: Match light wavelengths to seedling growth stages.
- Advanced germination methods: Experiment with aeroponics for quicker sprout rates.
- Mycorrhizal fungi: Incorporate into soil mixes to improve root health and nutrient uptake.
- Vertical gardening: Maximize light exposure and space efficiency with wall-mounted planters.
These techniques require careful attention to detail and a willingness to experiment.
Leveraging hydroponic systems, advanced germination methods, and mycorrhizal fungi will create an optimal environment for seed starting.
Monitor your seedlings closely and adjust your approach, ensuring strong growth and successful transplants.
Indoor Seed Starting Calendar

Successful indoor seed starting hinges on timing. Your indoor seed starting calendar should begin 6-8 weeks before your area’s last expected frost date. This timeline gives your seedlings enough time to grow before transplanting outdoors. Consult seed packets for specific germination times and adjust your schedule accordingly.
To start your seeds effectively:
- Begin hardy crops like kale and broccoli earlier in the season.
- Plant heat-loving varieties such as tomatoes and peppers later.
- Monitor seedlings closely, adjusting water and light as needed.
As your plants mature, gradually reduce light exposure to prepare them for outdoor conditions.
Implement a hardening-off schedule about 1-2 weeks before transplanting, slowly increasing outdoor exposure. This process acclimates your seedlings to their future environment, ensuring a smooth transition and healthy growth in your garden.
Eco-Friendly Seed Starting Tips

Environmentally conscious gardeners can make their seed-starting process more eco-friendly with a few simple changes. Begin using biodegradable seed starter pots made from peat or coconut coir. Create a sustainable seed-starting mix combining compost, peat moss, and perlite. Improve soil health with kitchen scraps like eggshells and coffee grounds, which are rich in nutrients.
| Eco-Friendly Practice | Benefits | Implementation |
|---|---|---|
| Biodegradable pots | Reduces plastic waste | Use peat or coconut coir pots |
| Homemade soil mix | Employs organic waste | Combine compost, peat moss, perlite |
| Natural pest deterrents | Avoids chemical pesticides | Apply neem oil or diatomaceous earth |
Protect your seedlings using natural pest deterrents such as neem oil or diatomaceous earth. Finally, a rainwater collection system should be set up to conserve water and reduce reliance on municipal sources. These practices will help you start seeds sustainably while promoting a healthier garden ecosystem.
From Seedling to Garden: Transplanting Success

The vital transition from indoor seedlings to outdoor garden plants can make or break your growing season.
Successful transplanting requires careful preparation and timing. Begin by hardening off your seedlings and gradually exposing them to outdoor conditions over 1-2 weeks. This process strengthens them for the garden environment.
When you’re ready to transplant, follow these essential steps:
- Water seedlings thoroughly before moving them
- Plant at the same depth or slightly deeper than their original containers
- Monitor weather conditions and protect if needed
Choose transplanting dates that align with your local climate and the specific needs of each plant.
Consult seed packets for guidance on optimal timing. Remember, proper transplanting depth promotes healthy root development, which is critical for your seedlings’ long-term success in the garden.
YBF Final Thoughts
With indoor seed starting, you’ll unlock a world of gardening possibilities. Mastering these techniques will extend your growing season, increase plant diversity, and enjoy earlier harvests. Did you know that indoor-started seedlings can produce yields up to 25% higher than direct-sown plants? Applying the knowledge from this manual will transform your urban space into a thriving garden oasis. Remember, patience and attention to detail are essential. Your gardening adventure begins with a tiny seed and boundless potential.