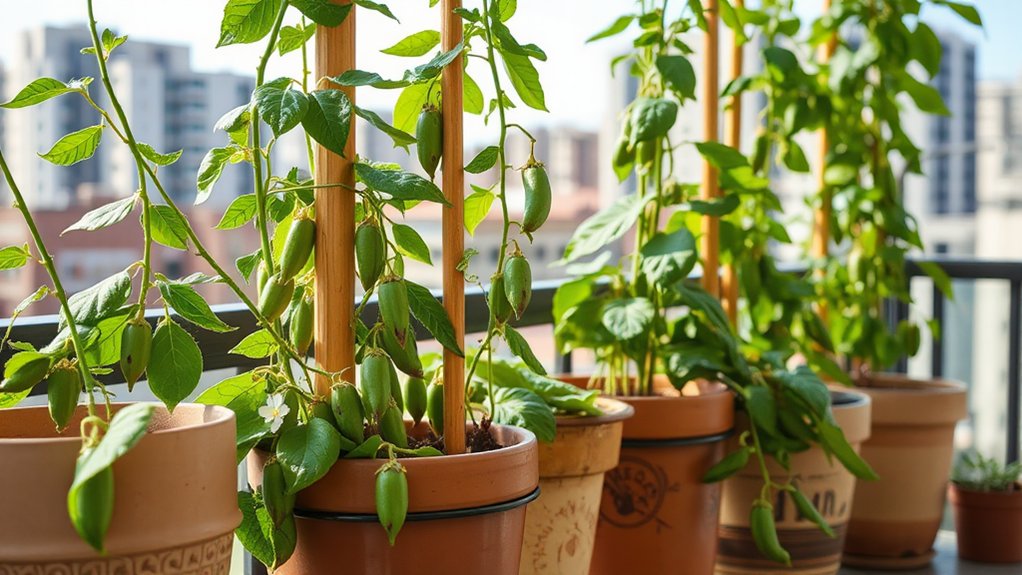
Starting on how to grow herbs indoors is a delightful adventure. You’ll have fresh flavors at your fingertips and enjoy the beauty and aroma these plants bring to your home. From choosing the ideal windowsill to mastering the art of watering, there’s much to discover about nurturing your indoor herb garden.
Whether you’re an experienced gardener or a beginner, this guide will walk you through the important steps to create a thriving herb oasis in your kitchen. Are you ready to elevate your culinary experience and introduce a touch of nature indoors? As you embark on this exciting journey, keep in mind that urban edible gardening tips can be applied to optimize your herb oasis. From choosing the right containers to maximizing sunlight exposure, these tips will help you make the most of your indoor garden. With some careful planning and a little bit of green thumb magic, you’ll soon be enjoying a bountiful harvest of fresh, flavorful herbs right at your fingertips.
Our Quick Highlights
- Choose herbs like basil, parsley, and chives that thrive indoors with 6-8 hours of daily sunlight.
- Select containers with drainage holes and use light potting soil mixed with perlite for optimal growth.
- Place herbs in south-facing windows or use LED grow lights for supplemental illumination.
- Water is used when the top inch of soil is dry, and temperatures are maintained between 55-70°F (13-21°C).
- Fertilize during growing seasons, prune regularly, and harvest when plants reach 4-6 inches tall.
Benefits of Indoor Herb Gardens

If you’ve ever considered growing herbs indoors, you’re on the right track. An indoor herb garden offers numerous benefits that can improve your culinary experience and kitchen environment.
Here are the main advantages:
- Fresh Flavors: Access to fresh herbs significantly enhances your meals’ taste and nutritional value.
- Cost-Effective: Growing herbs at home reduces waste and saves money compared to frequent store purchases.
- Convenience: Having herbs within arm’s reach makes incorporating fresh flavors into your cooking easy.
- Aesthetics: Indoor herb gardens add a touch of greenery, livening up your kitchen space.
- Year-Round Growth: With proper care, including adequate sunlight and water, herbs can thrive indoors regardless of outdoor weather conditions.
Essential Herbs for Indoor Growing

Several herbs are well-suited for indoor growing, making them important for your kitchen garden. Basil, parsley, cilantro, chives, and rosemary top the list of vital herbs to grow indoors due to their culinary versatility and adaptability to container gardening.
These indoor herbs thrive with 6-8 hours of bright sunlight daily; therefore, for optimal growth, place them near south-facing windows.
For beginners, fast-growing herbs like basil and cilantro offer quick harvests when started from seedlings. To maximize success, group herbs with similar care requirements together. For example, pair rosemary with thyme, as they share water and light preferences.
Regular harvesting is significant for maintaining healthy indoor herbs. Remove up to one-third of the plant’s growth to encourage new foliage production and improve flavor. This practice ensures a continuous supply of fresh herbs for your culinary efforts.
Choosing the Right Location

Selecting the perfect spot for your indoor herb garden is crucial for success. A south-facing window is ideal, providing the 6-8 hours of bright light most herbs need. Assess light exposure in your kitchen, considering adjacent structures or shades that may limit sunlight. If natural light is insufficient, employ LED grow lights for 12-14 hours daily.
Monitor temperatures, keeping within 55-70°F for optimal growth. Rotate pots weekly to ensure even growth and prevent legginess. Reflect on these factors when choosing your herb garden location:
| Factor | Ideal Conditions | Impact |
|---|---|---|
| Light | South-facing | Healthy growth |
| Temperature | 55-70°F | Optimal development |
| Airflow | Good circulation | Prevents mold |
Light Requirements for Indoor Herbs

Proper lighting forms the foundation of a thriving indoor herb garden. Most herbs prefer 6-8 hours of bright, direct sunlight daily for optimal growth and flavor development. South-facing windows are ideal, providing consistent natural light throughout the day.
If you’re struggling with insufficient light, consider these solutions:
- Use LED grow lights for 12-14 hours daily
- Rotate potted herbs regularly for even exposure
- Monitor light conditions and adjust as needed
Inadequate light can lead to poor growth and weak plants. Therefore, it’s essential to meet your herbs’ light requirements.
If you notice leggy or unevenly grown plants, it’s time to reassess their positioning or supplement them with artificial lighting. By prioritizing proper light exposure, you’ll ensure your indoor herbs receive the energy they need to flourish and provide you with fresh, flavorful harvests.
Soil Selection for Optimal Growth

Your selected soil is the foundation for a thriving indoor herb garden. Opt for a light potting soil that balances moisture retention and drainage, essential for preventing root rot.
To improve aeration and promote healthier root systems, incorporate perlite into your potting mix.
When selecting containers, choose those 1-2 inches larger than the original pots. This prevents overwatering and root suffocation.
Ensure proper soil level, leaving space around plant crowns to avoid covering them. Regularly inspect for soil compaction, which can impede drainage, and refresh as needed to maintain optimal growing conditions.
Remember:
- Use well-draining potting soil
- Add perlite for better aeration
- Select appropriate container sizes
- Maintain proper soil levels
- Monitor and refresh soil as necessary
Containers and Potting Techniques

With the right soil in place, your focus now shifts to choosing the ideal containers and mastering potting techniques for your indoor herb garden.
Select containers with drainage holes to prevent root rot and ensure proper moisture management. Terra cotta pots are an excellent choice, as they provide improved air exchange and moisture control compared to plastic options.
When selecting containers, opt for ones that are 1-2 inches larger than the original pots. This prevents overwatering and allows sufficient room for root growth.
Fill your chosen containers with light potting soil mixed with perlite to promote drainage while retaining moisture.
When planting your herbs, ensure the soil level is appropriate. Avoid covering the crowns of the plants to prevent rot and encourage healthy growth.
Watering Your Indoor Herbs

Maintaining the perfect moisture balance and watering your indoor herbs is vital to their care.
To ensure optimal growth, regularly check the top inch of soil and water when it feels dry to the touch. This approach prevents overwatering, which can lead to root rot. Use pots with drainage holes to allow excess water to escape, and monitor pot weight as an indicator of soil moisture.
For consistent care:
- Water herbs typically once a week, adjusting based on environmental conditions.
- Create a humidity-boosting tray with pebbles and water to maintain moisture levels without oversaturating the soil.
- Establish a regular watering schedule, but remain flexible and attentive to your herbs’ needs.
Temperature and Humidity Control

Controlling temperature and humidity is crucial to the success of your indoor herbs. Most herbs need temperatures between 55 and 70°F (13 to 21°C) to thrive. You’ll want to maintain this range for optimal growth. To help with humidity control, cluster your herbs together. They’ll release moisture into the air, benefiting each other’s health.
| Temperature | Humidity | Air Circulation |
|---|---|---|
| 55-70°F | Moderate | Regular |
| 13-21°C | Clustered | Prevent mold |
| Monitor | Pebble tray | Avoid stagnation |
| Adjust as needed | Mist if dry | Fans if necessary |
Monitor soil moisture by checking the top inch. Water when it’s dry to prevent root rot. Ensure regular air circulation to ward off mold and disease. Consider using a humidity-boosting tray with water and pebbles under your pots in dry winter to improve moisture levels.
Fertilizing Indoor Herbs

Now that you’ve mastered temperature and humidity control, let’s focus on feeding your indoor herbs. Proper fertilization is essential for healthy herb plants, but timing and quantity are important.
When herbs actively grow in spring and summer, apply diluted organic fertilizer at half strength every 4-6 weeks. This supports vigorous growth and flavor development.
Here’s how to fertilize your indoor herbs effectively:
- Use a well-draining potting mix to prevent nutrient buildup.
- Avoid fertilizing in winter when growth slows.
- Monitor your herbs for signs of nutrient deficiency, such as yellowing leaves or stunted growth.
- Adjust fertilization frequency based on your plant’s health and growth rate.
Pruning for Healthy Growth

Pruning is a vital step in cultivating healthy indoor herbs. To encourage bushy growth and prevent legginess, prune your herbs when they reach 4-6 inches tall.
Using sharp pruners or scissors, cut stems from the top or outer parts of the plant, being careful not to damage it. Remember to:
- Harvest regularly to stimulate new growth
- Avoid removing more than one-third of the plant’s total growth at once
- Cut back to merely above a healthy leaf node or side shoot
When you prune and harvest your herbs, you direct the plant’s energy towards foliage rather than flowering. This practice not only provides you with fresh ingredients but likewise promotes a fuller, healthier plant.
Harvesting Your Indoor Herbs

The art of harvesting indoor herbs is crucial for maintaining a thriving and productive indoor garden. When your herbs reach 4-6 inches in height, it’s time to start harvesting for optimal flavor and continued growth.
Use sharp pruners to cut stems from the top or outer parts of the plant, encouraging bushier growth. Remember, regular harvesting stimulates new growth, therefore only take what you need to maintain a consistent supply.
To ensure the best results when harvesting your indoor herbs:
- Harvest in the morning when aromatic oils are most concentrated
- Cut above a leaf or side shoot to prevent legginess
- Prune back a maximum of one-third of the growth
Common Pests and Diseases

Despite the controlled environment of indoor gardening, several pests and diseases can still threaten your herb plants. Pests like aphids, spider mites, and whiteflies can cause stunted growth and leaf discoloration.
To protect your herbs, regularly inspect them for signs of infestation, such as sticky residues, distorted growth, or tiny webs. If you spot these issues, use organic insecticidal soap sprays for adequate control.
Diseases, including powdery mildew and root rot, can occur due to poor air circulation and excessive moisture.
To prevent these problems:
- Monitor humidity levels
- Ensure proper drainage
- Improve air circulation around your plants
If you notice any signs of disease, promptly remove infected plant parts and adjust growing conditions.
Propagation Techniques

When propagating herbs indoors, you must decide between seeds or cuttings.
Seeds offer various options and can be economical, but they require more time and patience as you wait for germination and growth.
Cuttings, on the other hand, provide a quicker route to established plants, allowing you to clone existing herbs and potentially bypass the occasionally tricky germination stage.
Seeds vs. Cuttings
Choosing seeds and cuttings for indoor herb propagation depends on your goals and experience level. Seeds offer a wider variety of herbs and allow you to customize your selection based on culinary preferences and climate. Nevertheless, they require patience and optimal conditions for germination.
Cuttings, in contrast, provide faster results and are often easier for beginners in herb gardening.
When deciding between seeds and cuttings, consider:
- Your level of experience
- The specific herbs you want to grow
- How quickly do you need usable herbs?
If you opt for cuttings, ensure you take them from healthy parent plants and make clean cuts. Leave at least two nodes submerged in water or soil to encourage root growth.
For seeds, maintain consistent warmth, moisture, and light for germination.
Vertical Gardening for Herbs

Vertical gardening offers five significant benefits for indoor herb growers. It maximizes space, ensures proper light exposure, improves air circulation, simplifies maintenance, and adds visual appeal to your home. When setting up a vertical herb garden, choose lightweight containers with good drainage and secure them to sturdy wall-mounted systems or shelves. Consider using vertical herb spirals, which are specifically designed to maximize space by allowing multiple herbs to be grown in a compact, vertical structure. These spirals also provide the proper light exposure and air circulation that herbs need to thrive. By incorporating vertical herb spirals into your indoor garden, you can enjoy an abundance of fresh herbs while adding a unique and eye-catching element to your home decor.
Herbs like basil, mint, and chives thrive in vertical setups due to their compact growth habits. To maintain your garden:
- Rotate plants regularly for even light exposure
- Use a drip irrigation system or self-watering containers
- Monitor each level for proper moisture and growth
- Prune herbs as needed to prevent overcrowding
| Herb | Light Needs | Water Needs |
|---|---|---|
| Basil | High | Moderate |
| Mint | Moderate | High |
| Chives | Moderate | Moderate |
| Oregano | High | Low |
| Thyme | High | Low |
YBF Final Thoughts
Ready to begin your indoor herb gardening adventure? With the proper knowledge and tools, you’ll soon harvest fresh herbs from your windowsill. Remember to provide adequate light, well-draining soil, and appropriate care. Don’t forget to prune and monitor for pests regularly. By following these recommendations, you’ll create a thriving indoor herb garden that improves your culinary creations and adds a touch of green to your living space. Happy growing!